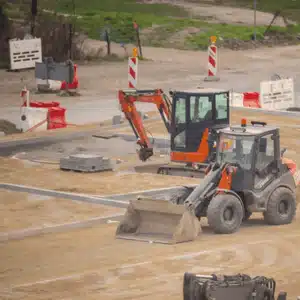
Land clearing is the first step for any construction project. Whether you’re building a home or starting a commercial development, proper clearing creates a safe, stable foundation. Professional land clearing services remove trees, brush, stumps, and debris to prepare your site for construction.
In Texas, terrain and vegetation present unique challenges. Rocky soil, dense mesquite, and steep slopes require expert handling. Skipping professional help risks safety issues, project delays, and costly mistakes.
Why Professional Land Clearing Services Matter
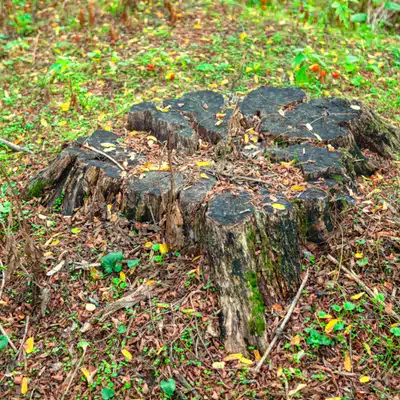
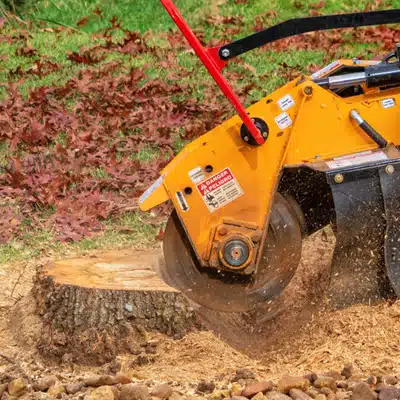
Clearing land involves more than cutting down trees. Hidden roots, uneven terrain, and leftover debris can damage your construction project. Decaying roots may cause sinkholes under your structure. Stumps left in the ground create obstacles for equipment and foundations.
Professional teams use specialized equipment to clear sites thoroughly. They remove all obstacles and grade the soil for proper drainage. This prevents erosion and standing water around your new building.
Safety is another critical factor. Dead trees can fall unexpectedly. Heavy machinery requires trained operators. Attempting DIY clearing puts you at risk of serious injury. Professionals wear protective gear, follow safety protocols, and carry insurance.
Residential Land Clearing Services
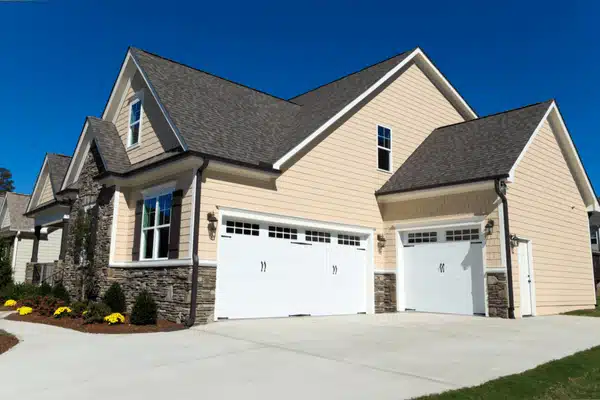
Homeowners need land clearing for new houses, yard extensions, or reclaiming overgrown areas. Residential land clearing services require careful attention to safety and quality.
Experts remove unwanted vegetation while preserving trees you want to keep. They avoid damaging nearby structures or landscaping. This careful approach protects your property investment.
Safety concerns make professional help essential. Renting a chainsaw or bulldozer without training is dangerous. Falling limbs and mishandled equipment cause serious injuries. Professionals know how to assess hazards and work safely in all conditions.
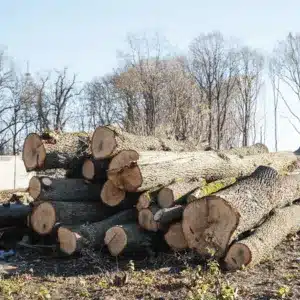
Debris removal is another advantage. Cleared vegetation gets hauled away or mulched on-site. This prevents pest problems – wood piles attract termites and rodents. In wildfire-prone areas, clearing brush around your home reduces fire risk significantly.
When searching for “land clearing services near me,” look for:
- Licensed and insured operators
- Experience with residential projects
- Proper equipment for your property size
- Knowledge of local permit requirements
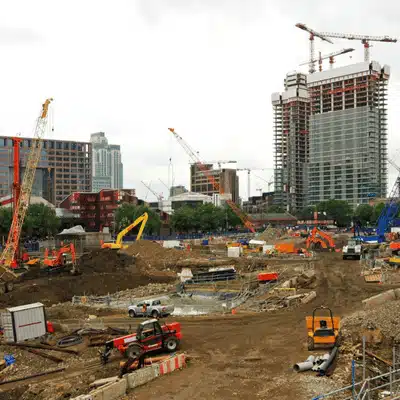
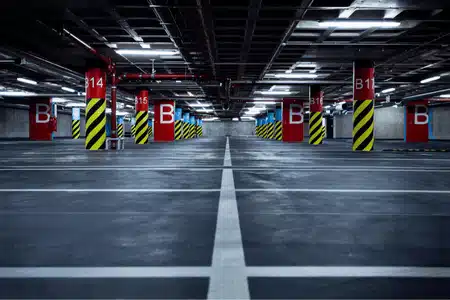
Commercial Land Clearing and Grading Services
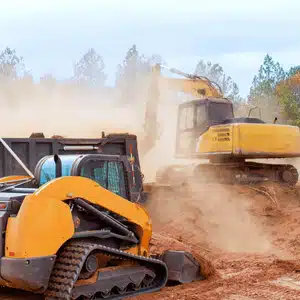
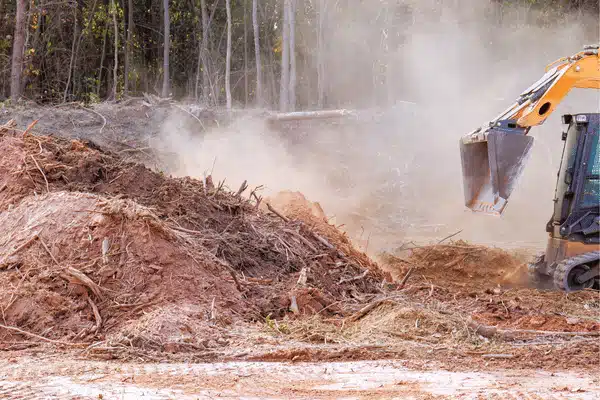
Large developments need robust commercial land clearing and grading services. These projects involve heavier machinery and stricter standards. Shopping centers, subdivisions, and infrastructure projects demand thorough site preparation.
Central Texas sites often feature rocky soil, dense brush, and elevation changes. Professional crews assess these conditions and choose the right clearing methods. Options include bulldozing, forestry mulching, and selective clearing.
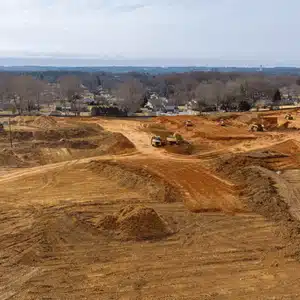
Grading follows clearing. This process levels and contours the ground for your project design. Proper grading ensures drainage flows away from buildings and prevents water pooling.
Compliance is crucial for commercial projects:
- Travis County requires clearing permits for mechanized equipment
- Projects disturbing one acre or more need Stormwater Pollution Prevention Plans
- TCEQ regulates debris disposal and burning
Experienced contractors handle all compliance steps. They obtain permits, create erosion control plans, and follow environmental regulations. This keeps your project on schedule and within budget.
Brush and Tree Removal Land Clearing Expertise
🌲 Brush and Tree Removal Land Clearing Expertise
Professional vegetation removal for safer, cleaner construction sites
Improved Visibility
Clear lines of sight across your entire property for safer operations
Better Access
Equipment and vehicles can move freely throughout the site
Wildfire Protection
Reduces combustible vegetation and fire spread risk
Pest Prevention
Eliminates habitats for rodents, termites, and other pests
🔥 Texas Wildfire Mitigation
After severe wildfire seasons, Texas A&M Forest Service has partnered with cities to remove brush and mulch trees. This approach reduces flame intensity and protects nearby developments.
Forestry Mulching
Shreds brush and spreads it as protective ground cover
Erosion Control
Mulch prevents soil erosion and returns nutrients
Selective Clearing
Preserves beneficial vegetation while removing unwanted growth
TCEQ Compliance
Proper debris disposal following all state guidelines
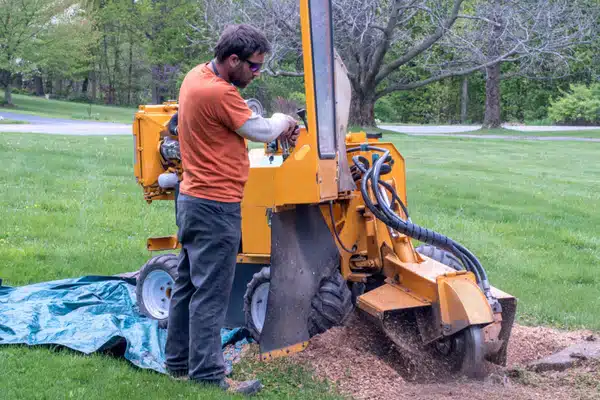
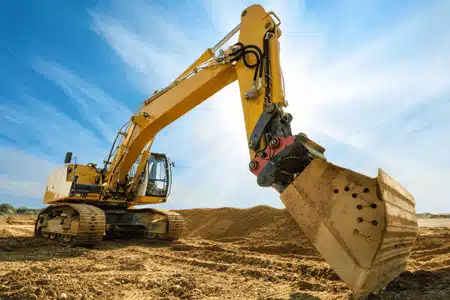
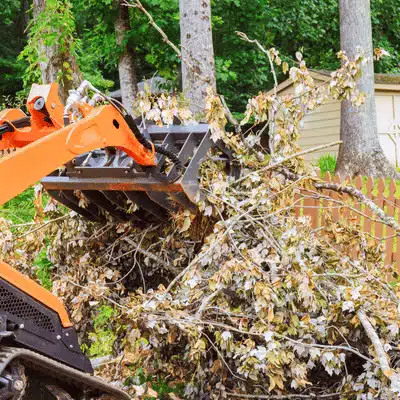
Vegetation removal is central to any clearing project. Professional brush and tree removal land clearing eliminates all obstacles and hazards. This includes cutting trees, grinding stumps, clearing underbrush, and processing debris.
Effective removal improves site safety and function. Overgrown brush hides uneven ground and attracts wildlife. Clearing provides visibility and access across your property. It also eliminates wildfire fuel – a major concern in Texas.
After severe wildfire seasons, Texas A&M Forest Service has partnered with cities to remove brush and mulch trees for fire mitigation. This approach reduces flame intensity and protects nearby developments.
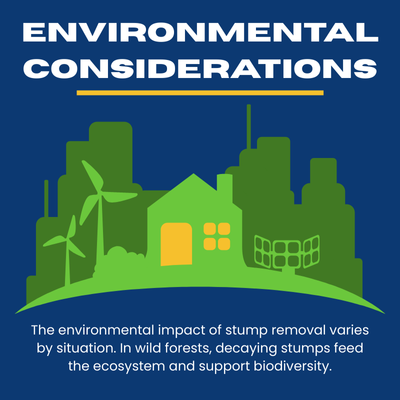
Modern clearing methods prioritize the environment:
- Forestry mulching shreds brush and spreads it as ground cover
- Mulch prevents erosion and returns nutrients to soil
- Selective clearing preserves beneficial vegetation
Tree roots prevent soil erosion. When trees are removed, exposed land faces erosion from wind and rain. Professionals implement erosion controls like silt fences and reseeding key areas.
Debris handling requires careful planning. Burning vegetative debris needs permits and must meet air quality rules. Professional teams navigate these regulations and dispose of materials legally.
Safety and Environmental Standards
Land clearing demands strict safety protocols. Heavy machinery, chainsaws, and changing conditions create numerous hazards.
Professional safety measures include:
- Personal protective equipment for all workers
- Machinery with rollover protection and safety guards
- Underground utility line scanning before digging
- Keeping bystanders away from work zones
Many clearing accidents result from lack of training. Reputable companies enforce safety standards and carry insurance. This protects you from liability if incidents occur.
Environmental protection requires equal attention. Sites near water need extra care to prevent sediment runoff. Erosion control plans mark protected zones and install barriers to catch disturbed soil.
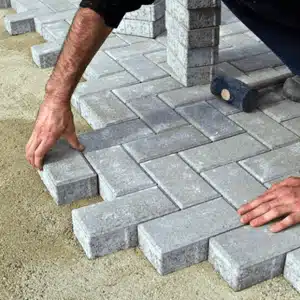
Land Clearing Services for New Construction Success
Proper site preparation sets up your entire project. Land clearing services for new construction create the foundation for everything that follows.
Professional clearing offers lasting value. The work happens quickly with skilled crews and proper equipment. Correct clearing prevents delays from hidden debris or unstable soil.
Local expertise matters tremendously. Texas soil types, native plants, and weather patterns affect clearing approaches. Professionals understand these factors and adapt their methods accordingly.
Frequently Asked Questions
What’s included in professional land clearing services?
Services include removing trees, grinding stumps, clearing brush, grading terrain, and debris disposal. Professionals also handle permits, erosion control, and compliance with local regulations.
How long does land clearing take?
Timeline depends on property size, vegetation density, and terrain difficulty. Residential lots often take 1-3 days. Large commercial sites may require several weeks.
Do I need permits for land clearing in Texas?
Most Texas counties require permits for mechanized clearing. Projects over one acre need Stormwater Pollution Prevention Plans. Hire professionals who handle permits for you.
What’s the difference between residential and commercial land clearing?
Residential projects are smaller and focus on preserving surrounding landscaping. Commercial land clearing and grading services involve heavier equipment, larger areas, and stricter compliance requirements.
How much does professional land clearing cost?
Costs vary based on acreage, vegetation density, accessibility, and services needed. Professional clearing saves money by preventing construction delays and avoiding regulatory fines.
Is forestry mulching better than traditional clearing?
Forestry mulching shreds vegetation and leaves mulch as ground cover. This prevents erosion and returns nutrients to soil. Traditional methods work better for sites needing complete ground exposure.
Start Your Project with Professional Site Preparation
Professional land clearing services deliver clean, safe sites ready for construction. Expert teams handle every aspect – from brush and tree removal land clearing to final grading and debris disposal.
When searching for “land clearing services near me,” choose qualified professionals who protect your investment. You avoid safety risks, regulatory problems, and construction delays.
Ready to prepare your site? Contact our experienced team today for a free consultation and quote. We’ll assess your property and create a clearing plan that meets your timeline and budget.